Soundwalk at Tisch / Debrief


*Group members: Hye Ryegon Shin (Maria), Ayal Rosenberg and Nathier Fernandez.*


For our Soundwalk project, we decided on a concept of an “alien” wondering inside the Tisch building and finding itself at home, which is the ITP floor.

First, we tried mapping out the story and planning in what order the events will occur. We brainstormed a little and in order to figure out our arc.

After making some sketches, we explored the Tisch floors ourselves in order to find the spirit of each floor. After our tour, we had the impression that most of the floors were silent, almost like inhabited, which is a big contrast to our floor (4th/ITP). We decided on the 2nd floor because for us it also had a personality or spirit.

We then recorded sounds that most effectively captured the characteristics of each floor. Finally, on the ITP floor, we thought of recording not only distinct ITP floor sounds but also of students conversing in three different languages: Spanish, Hebrew, and Korean. (We chose those three languages because they were our group’s native language). Moreover, we thought that emphasized the diversity and spirit of ITP. To make our soundwalk clearer, we designed a series of maps for the listener to refer to.

We then moved on to Adobe Audition and started editing our recordings. To our disappointment, the volume of all our files was too low. We tried our best to increase the level and to decrease the background noise as much as possible.

For future reference, we’ve decided to make sure to use the appropriate mike and to set the volume as high as possible. Other than the volume issue, we were fairly satisfied with the result of our project.


Our Soundwalk to Tisch can be found here.


//

Soundwalk debrief


It was a great project to be part of, we learned a lot and on future projects will make some changes; like using the appropriate mic set the recording levels as high as the environment and the natural sound level of the room allow it. Also, to be more aware of the factors that might affect the recordings, like the wind or the movement while we were walking.

We try our own SoundWalk to see if our timing, sound and map directions were correct, but because we knew our soundwalk and tested it in the morning, we weren’t that conscious about how the ambience sound could change. The track sounded good for us when Tisch was empty but our piece didn’t have good enough levels to endure Tisch rush hours, lesson learned right there. next time will take the time to ask someone else to test the piece and give feedback.

Thinking about how to design the listeners’ experience and the interface of the walk was tricky. How to ensure that they would walk the path we planned for them – there are timed sounds like opening doors, etc. How to not make them look at the map every second and be distracted from their listening atmosphere.

We were all very involved in all aspects of the project through continuous communication, feedback and turns, although Ayal was very impressive in Audition. Overall, we were very happy with the result and with each other’s collaboration.
 

Switch House

*Come up with a simple application for switches and LED circuits*


I wanted to create a simple mechanism for this assignment, I came with the idea of building a little house where the light would turn on or off it the door was opened or closed.  Prototyping fi the house was important, that way I could have an idea of space and volume, especially regarding the dimension needed for the mechanism. Paper was very helpful in order to prototype fast and fix mistakes before using cardboard.

Once the house was made I continued with my switch. I got a cell battery (3v),  a cell battery holder, a white LED, some copper tape, and wire. First, I made the connection with some electric tape in order to see that everything was well connected and measured to fit inside the house.

The idea was that between the LED and the cell battery, one of the wires would be cut, leaving it with two ends in a near position from the cooper door. If the door was open (away from the ends) no flow of energy was possible, the circuit was open but if the door was closed (in contact with the ends) the cooper allowed the energy to flow and the led to emit light.

Then, I soldered the parts together and glue them using a hot glue gun. With everything in place, the bottom of the house was closed. Here is the switch house video


//

Wood toy car

*Make multiples of something, 5 or more.  The objects must be a multi-process piece*


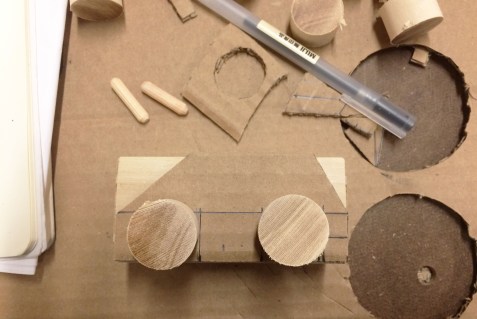
The idea was to replicate five objects following tasks that would make possible to generate with same steps either five or a hundred. I gather some materials for the project:  1/2 inch square piece of wood, a dowel, dowel pins and some cardboard.


First, I drew the template on the original material just the get an idea of the scale, Then I made a template out cardboard.

Then I moved to the miter saw to cut my pieces. I cut more than five in case of damaging one piece.

Put the template on each piece, draw the angles and marked the centre of each wheel so I could drill the holes in the body of the car.

The angles were cut with the band saw, the dowel was cut with the same tool. Then I sand all the pieces with the belt sander.

I knew I didn’t want to paint the cars but I did want the wheels to be black, so I used spray paint in black with a matte finish. It was the easier way to paint them all and it dried faster as well.

Following the idea of optimizing repetition, I made a window stamp out of linoleum and test it on cardboard and pieces of wood before applying it to the final five.

The idea was to use dowel pins to connect the wheels to the cars, drilling single cut pieces of dowel turned in an impossible task because even with a template getting to the centre of each piece was tricky. Know that I think about it, drilling the dowel first and then cutting it into pieces would have worked better, but I didn’t want holes from side to side.

So, I ended up using wood glue and rubber bands as clamps to attach the wheels to the body and let them like that until the following day.


//


Floral symmetry

*One element controlled by the mouse, one element that changes over time, one element that is different every time you run the sketch*


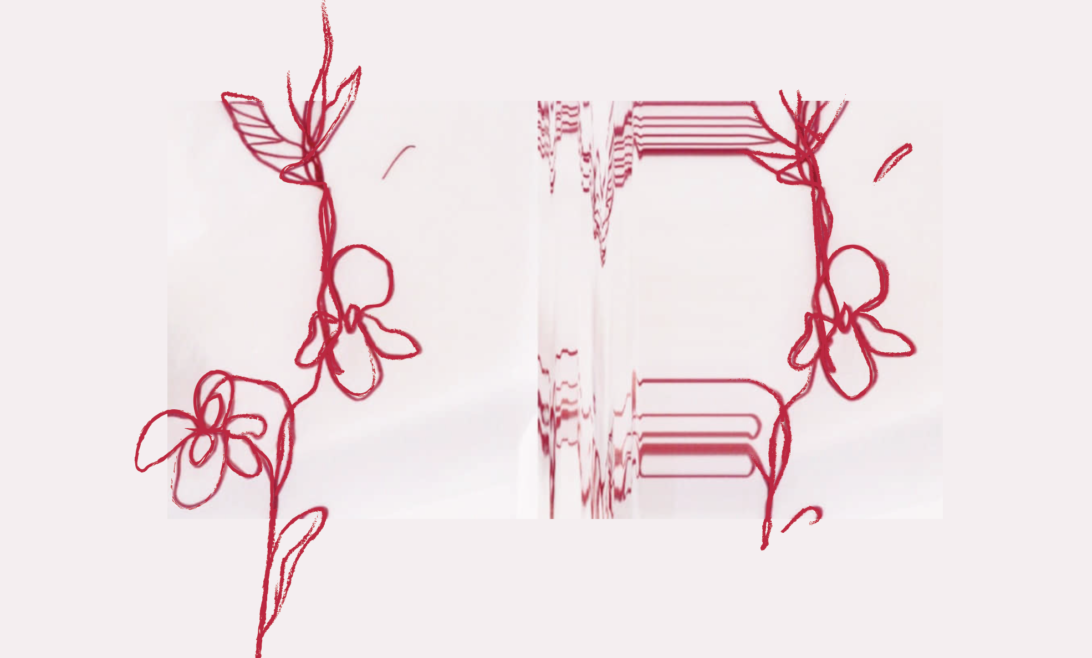
I used examples of perlin noise from Gene Kogan and from the examples page on the p5*js site for this exercise.

You will the animation here, and the code in this link.

Each time the sketch runs a new colour is set.

The figure is controlled by the mouse as is the background colour.

The colour of the figures change of colour and fade with time.

Maneki-neko monster

* ICM – first-week assignment – Screen drawing*

I’m a designer, I like to have a more generalistic approach to design and I’m somehow proud of not being over specialized in one particular field (but, how really possible is that?) If anything I keep finding myself attracted by everything. I’ll go from ornithology to Japanese folktales, or from biology to Verdi’s operas. Just trying to keep Humboldt proud, one of the last polymaths who ever lived. Maybe, is that, the idea of a polymath what makes ITP so attractive, or at least to me. It’s the possibility of being one that’s so exciting, as Nancy called us recently, we are “unicorns in the making”.

A hybrid state among fields is possible, that’s what I believe in and, want to do at ITP. Most of my experience as a designer comes from working in the field of performative arts, and there is where I want to start experimenting with different media, create new interactions with the audience.

Back to the assignment; several options were given (alien, monster, other) and I choose a subject that recently has me obsessing about. The Maneki-Neko, which is a Japanese lucky charm that resembles the form of a calico cat (I have a calico cat called Ische), and… It’s inspired by a real cat!

This gave me the opportunity to draw my own lucky cat for the first time and to mix it up a little, reimagining it as a new spirit, similar to a Kitsune (Fox spirit) which has nine tails and transforms into a woman. My Maneki-neko is also a demon/spirit, but a cute p5.js mischievous one.

I had some very basic knowledge of processing which helped, but even so, I got stuck a little, some functions are more complex than others, like curveVertex or arc in this particular case.

For the colours, I used photoshop to see the RGB.

But I started with a doodle of my cat and continued to use it as a reference for colour or for the position of X and Y.


The link for the evil Neko image and the sketch (with code) link